INDUSTRY NEWS
Detailed explanations on the installation points and precautions for the wafer butterfly valve
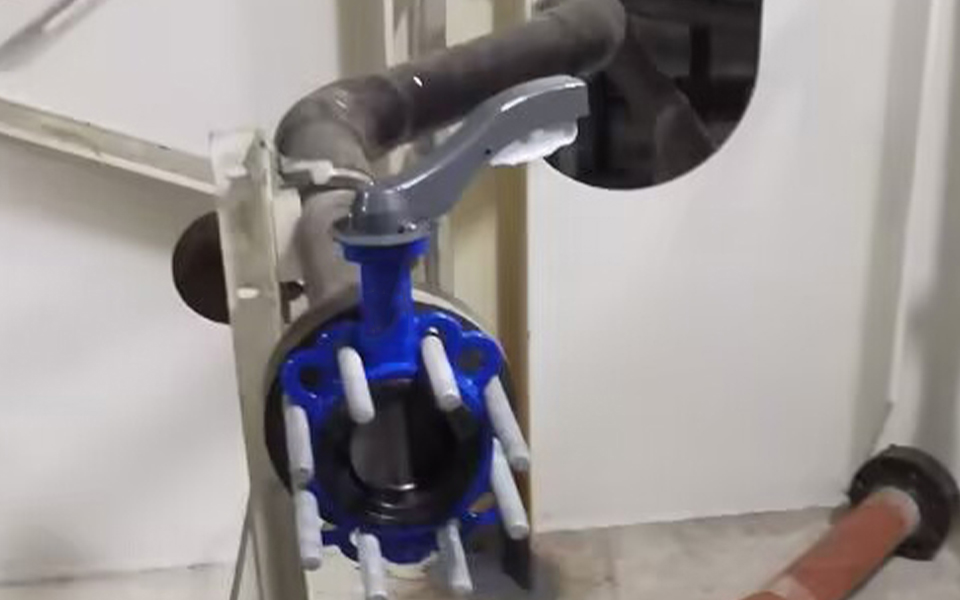
Introduction to the wafer butterfly valve
The wafer butterfly valve is a commonly used type of valve in industrial pipelines. It has a compact structure and is easy to install. During installation, simply place the butterfly valve between the flanges at both ends of the pipeline, and connect the pipeline flanges and the butterfly valve tightly with double-headed bolts to control the flow of fluid media in the pipeline. This type of valve is particularly suitable for scenarios with limited space or short pipeline spacings. When the butterfly valve is fully opened, the thickness of the butterfly plate becomes the sole resistance for the medium to pass through the valve body, thereby maintaining a low pressure drop through the valve and demonstrating superior flow control capabilities.
Preparations before installation
Before starting the installation, use air spraying to remove foreign objects from the piping and ensure that the inner surface of the piping has been thoroughly cleaned with water. Before installation, carefully check the usage conditions of the valve to ensure that it meets the performance specifications (such as temperature, pressure, etc.) requirements. Check if there are any debris in the valve passage and the sealing surface, and remove them to ensure the normal use of the valve. After unpacking the valve, install it immediately to avoid randomly loosening the fastening screws or nuts on the valve to ensure the accuracy of the installation. The installation of the wafer butterfly valve must use the flange plates specially designed for the butterfly valve to ensure compatibility and safety. Electric butterfly valves can be installed on any angle of the pipeline, but to facilitate maintenance, it is recommended to avoid inverted installation.
Detailed installation steps
Place the valve flat between the pre-installed two flanges, ensuring that the bolt holes are precisely aligned. Gently insert four pairs of bolts and nuts into the flange holes and slightly tighten the nuts to correct the flatness of the flange surface. Use spot welding to fix the flange to the pipeline, remove the valve. Fully weld the flange to the pipeline, wait for the welds to cool, then install the valve, and ensure that the valve has sufficient space to move within the flange to prevent damage and ensure that the valve plate has an appropriate opening degree. After correcting the valve position, tighten the four pairs of bolts, but be careful not to over-tighten. Open the valve to confirm that the valve plate can open and close freely, and slightly open the valve plate. Cross and evenly tighten all nuts. Finally, confirm that the valve opens and closes freely, and pay attention to no contact between the valve plate and the pipeline.
In addition, before installing the wafer butterfly valve, pay attention to placing it horizontally and avoiding random bumps. During the installation process, follow the on-site pipeline design, and do not disassemble at will without permission. The wafer butterfly valve can be installed at any position, but after installation, it is necessary to lay the butterfly valve along the line and set up supports. Once the support is set up, do not remove it randomly.
![]() +86 15122654356
+86 15122654356
![]() +86 15122654356
+86 15122654356
![]() sale2@tjlituo.com
sale2@tjlituo.com
![]() Xiaozhan Industrial Area, Xiaozhan Town, Jinnan District ,Tianjin , China
Xiaozhan Industrial Area, Xiaozhan Town, Jinnan District ,Tianjin , China